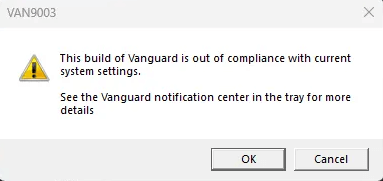
This is followed by the instruction “ See the Vanguard Notification center in the tray for more details”. Also, a similar error that displays VAN9003 “Initial Attestation Failure Secure Boot Requirement Not Met” was reported by various users. However, If you are also having a similar issue with your Valorant, this troubleshooting guide is for you. Read the following simple yet effective steps to fix the Valorant VAN9003 error on your Windows devices. But before we head to the solution it is important to understand the issue that can end up displaying the VAN9003 error.
What does Valorant VAN9003 Error Signifies?
The error can occur when secure boot is not enabled on your device. The trusted features of Windows such as secure boot, Trusted Platform Module, etc help your system to boot the applications or programs safely. And hence Vanguard also requires these two programs i.e Trusted Platform Module and Secure boot to ensure that the system is in a safe state. Now check if the BIOS Mode is set to UEFI. Also, Secure Boot State is On. If these settings don’t match apply the following steps in order to enable the Secure boot state on your PC.
Steps to Quickly Fix Valorant VAN9003 Error
Apply the following fixes to resolve the VAN9003 error on your device.
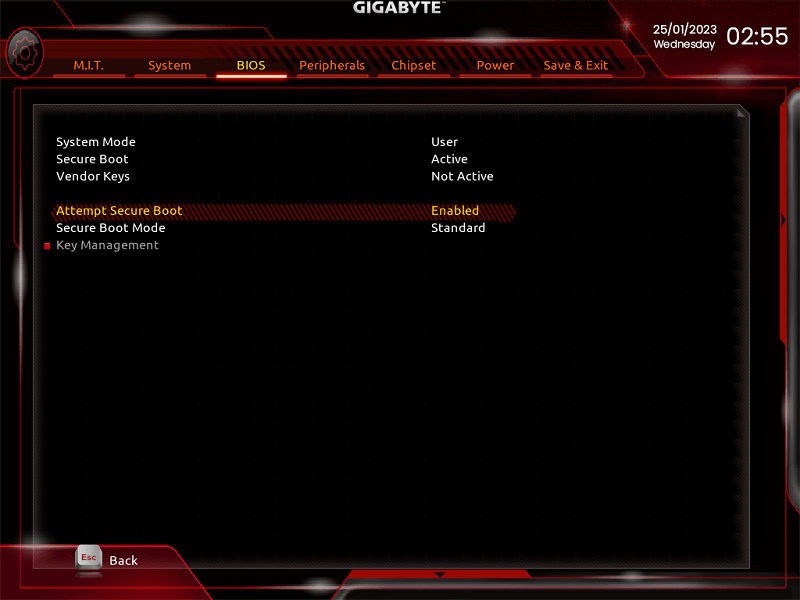
Fix 1: Enable Secure Boot
Apply the below-mentioned steps to fix the VAN9003 error on your device by enabling the Secure Boot on your PC. Step 1: Restart your computer and Press the F2 key to enter BIOS mode. Step 2: If you are using
Inspiron, Vostro, Alienware: Click on Secure Boot and then change Secure Boot to Enable. To save press the F10 key and exit.OptiPlex, Wyse, XPS, & Precision: Open Secure Boot and click on Secure boot Enable. Now check if the Secure Boot is Enabled. Click on Apply, Exit, and then Save.
Once these settings are applied and saved, wait till your Computer restarts. If the Valorant VAN9003 error persists, move to the next Fix to resolve the issue. Also Read: Valorant Not Launching on PC Error
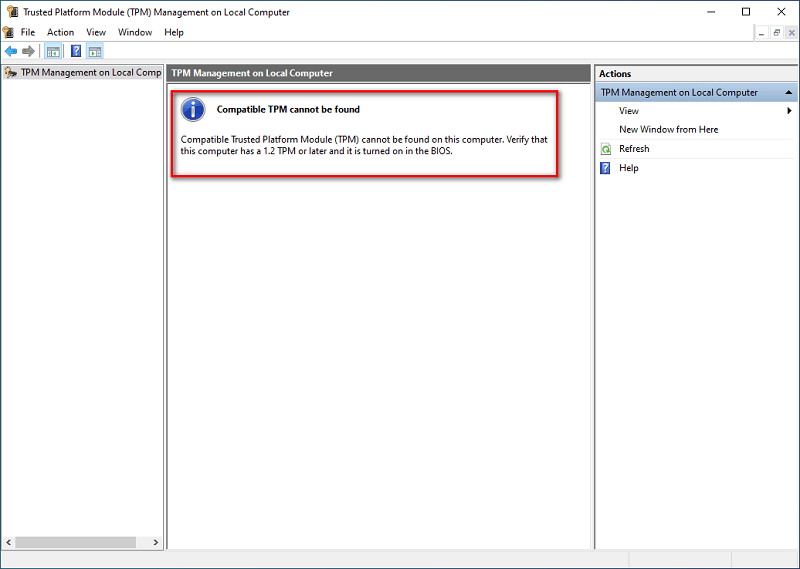
Fix 2: Enable TPM
To fix the Valorant error you must check if TPM is enabled. Here’s how to check it. Click on the Windows and R keys together to open the Run dialog box. Enter tpm.msc and click on OK. If the TPM version is below 2.0 then your system will ask for an upgrade. For this you need to enable TPM from your BIOS by applying the below-listed steps. Step 1: Restart your Windows 11 device and open BIOS using the F10, F11, F12, or Delete key (depending on your motherboard manufacturer). Step 2: In the Advanced BIOS mode navigate to TPM status or PTT, fTPM using the arrow keys. Step 3: Click on the Enable option and press Enter key on your keyboard. Step 4: Save changes and then Exit BIOS mode. Restart your computer to check if the game error is fixed. Launch the game Valorant to check if the VAN9003 error is resolved. Also Read: How to Fix Valorant ‘Graphics Driver Crashed’ Error
Closing Lines:
With the above article, we hope that you have fixed the Valorant VAN9003 error. In most cases, the issue is resolved by enabling the Secure Boot mode. However, if you still have any concerns leave them in the comment section below. We will try our best to address the problem with the relevant solution. Also, if you found the guide helpful don’t forget to subscribe to our blog for more informative troubleshooting guides and tech updates.