Enable On-Screen Keyboard in Windows 11
In addition to the actual keyboard (Built-in or USB keyboard), Windows 11 provides the option to use a virtual On-Screen keyboard that can be used if the actual keyboard is not working properly. The On-Screen keyboard has all Standard keys as found on an actual or physical keyboard and it can be operated using a Mouse or Trackpad to click on the virtual keys. Here it needs to be mentioned that the On-Screen Keyboard is not the same as Touch Screen Keyboard, which is only available on Touch Screen computers and can be operated by tapping on the keys.
1. Steps to Enable On-Screen Keyboard in Windows 11
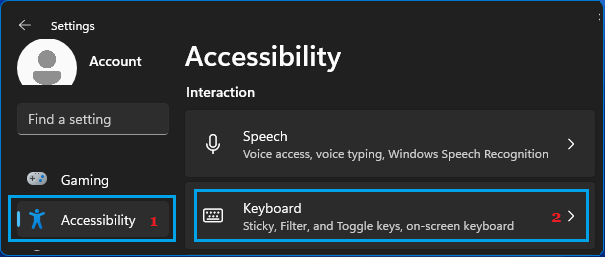
The standard way to enable On-Screen Keyboard in Windows 11 is by using the Settings Menu. Go to Settings > Accessibility > scroll down in the right-pane to “Interaction” section and click on Keyboard.
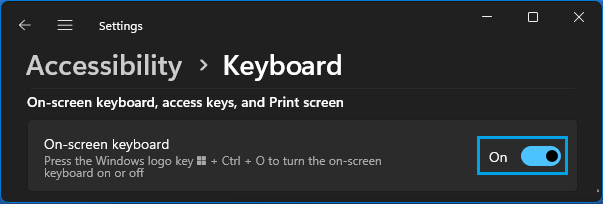
On the next screen, move the toggle next to On-Screen Keyboard to ON position.
You should immediately see the On-screen keyboard popping up on the screen of your computer.
2. Make On-Screen Keyboard Available At Startup
If the actual keyboard on your computer is going through problems, you can make the On-Screen Keyboard to open at Startup.
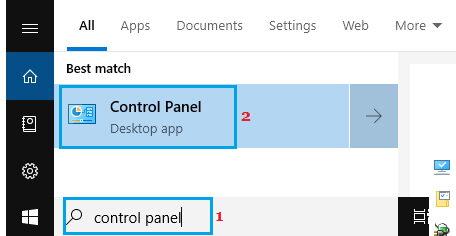
Type Control Panel in the search bar and click on Control Panel Desktop App in the search results.
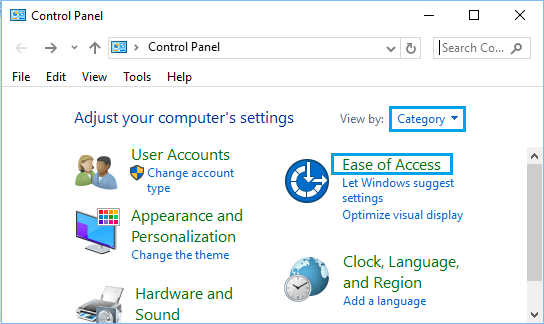
On Control Panel Screen, make sure you are in Category view and click on Ease of Access option.
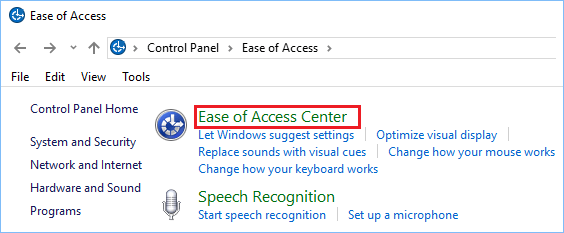
On the next screen, click on Ease of Access Center.
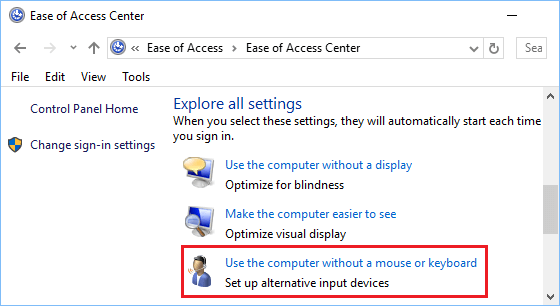
On Ease of Access Center, scroll down and click on Use Computer Without a Mouse or Keyboard link located under “Explore all Settings” section.
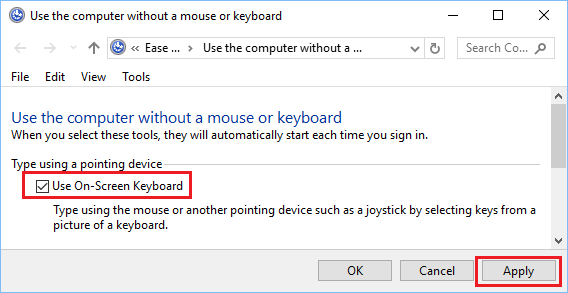
On the next screen, select Use On-Screen Keyboard option > click on Apply and OK to save this setting on your computer.
After this, you will always find On-Screen Keyboard available for your use, as soon as the computer starts up.
3. Make On-Screen Keyboard Appear on the Login Screen
Having the On-screen Keyboard available right at the Login screen can be useful, if you are worried about the possibility of being unable to Login to the computer, due a non-functioning physical keyboard.
Type Control Panel in the search bar and click on Control Panel Desktop App in the search results.
On Control Panel Screen, make sure you are in Category view and click on Ease of Access option.
On the next screen, click on Ease of Access Center.
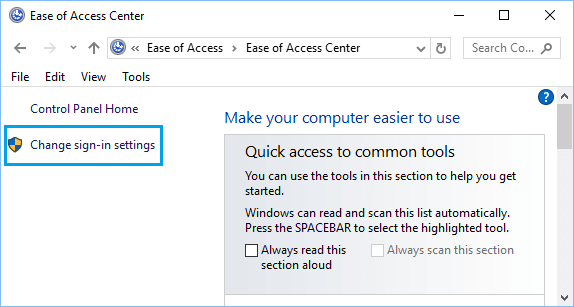
On Ease of Access Center, click on Change Sign-in Settings option.
On the next screen, select Type Without the Keyboard option in “At Sign-in” column.
Click on Apply and OK to save this setting on your computer. After this, you will find the On-Screen Keyboard available and ready for your use at the Login Screen.
How to Stop Keyboard from Beeping in Windows 11/10 How to Disable Startup Sound in Windows 11/10